Introduction
Changing your Nintendo 3DS language from Japanese to English can significantly improve your interaction with the console, especially if English is your preferred language. Many gamers find language settings a barrier to fully enjoying their games and utilizing all the console features. Fortunately, Nintendo provides a straightforward way to adjust these settings, allowing seamless access and enjoyment of your 3DS. Let’s explore how you can make this change efficiently.
To begin this transition, it’s important to understand the available language options on your 3DS and get familiar with the settings menu.
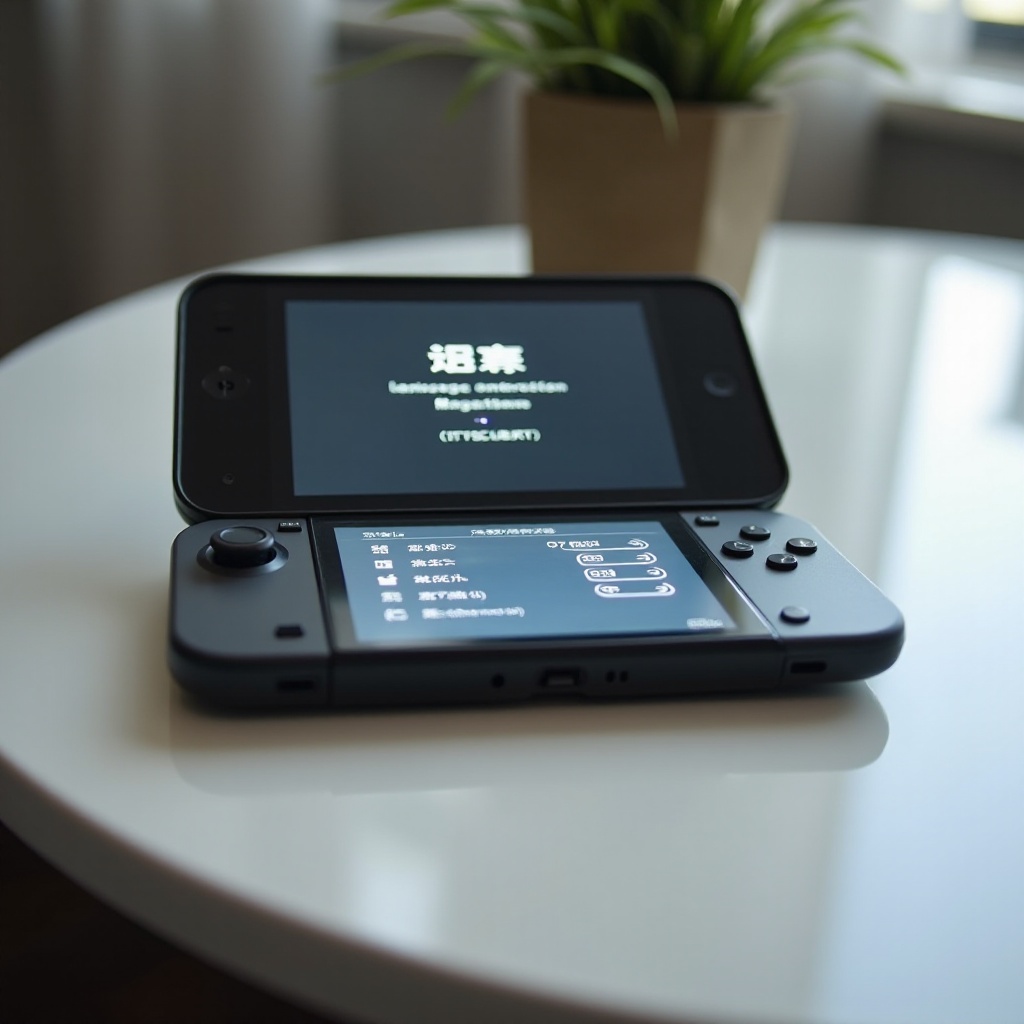
Understanding Your Nintendo 3DS Language Options
The Nintendo 3DS offers users multiple language options, including major languages such as English, Japanese, Spanish, French, and more. The selection you make influences not only the system menus but also in-game dialogues and instructions, where applicable.
Choosing the right language can dramatically affect your user experience. Once you switch to a language you understand, you can effortlessly navigate and troubleshoot, enjoying all the features your 3DS offers. Before proceeding, however, there are a few preparations to undertake.
Preparing to Change Language Settings
To ensure a smooth transition, some preparations are required:
- Ensure Full Battery or Power Connection: Begin with a fully charged 3DS or keep it plugged in to avoid interruptions during the process.
- Data Backup is Important: Although changing the language should not affect your data, backing up your 3DS provides peace of mind against unforeseen complications.
- Familiarize Yourself with System Layout: Understanding where different settings are located will help you navigate even if the display is in Japanese.
With these preliminaries in place, you are now ready to execute the change from Japanese to English.
Step-by-Step Guide: Changing Language from Japanese to English
Set the language on your Nintendo 3DS to English by following these simple steps:
- Access the Home Menu: Power on your 3DS and access the Home Menu.
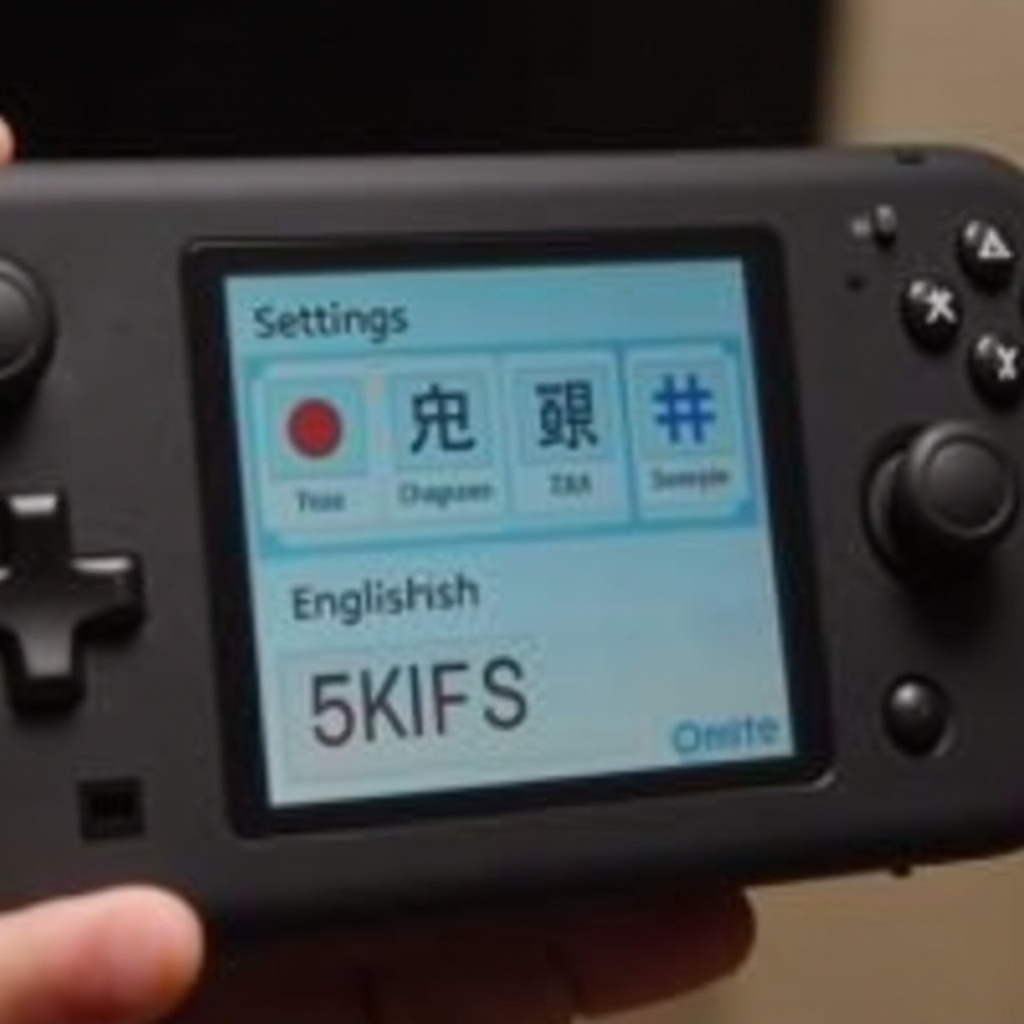
- Locate System Settings: Tap the System Settings icon, easily identified by a wrench symbol. This consistency in icons is crucial when the menu displays in Japanese.
- Find Language Settings:
- Scroll through until you find the language option, which appears as ‘言語設定’ (Gengo settei) in Japanese.
- Tap on this option.
- Choose English: From the list of languages, select ‘English.
- Confirm and Restart: Confirm your selection, and the 3DS may need a restart to apply the changes.
Your console is now set to English, giving you easier access and understanding of your 3DS.
Common Issues and Troubleshooting
Despite the ease of changing language settings, some users may face challenges. Here are solutions to common issues:
- Reverted Language Settings: If the language reverts to Japanese, ensure that you confirmed the change and the system fully rebooted after confirmation.
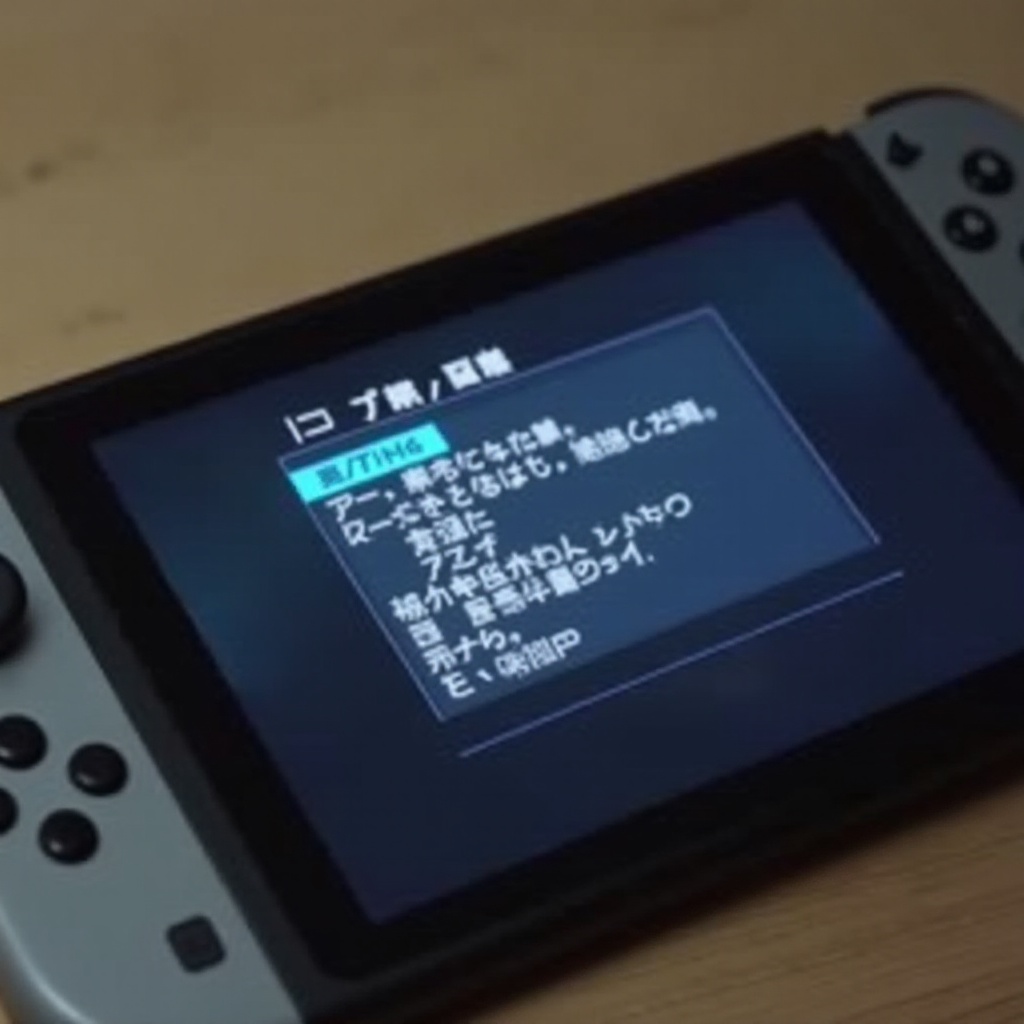
- Navigation Difficulties in Japanese: Rely on icon recognition rather than text. This method is particularly useful if you aren’t familiar with Japanese script.
- Persistent Errors: Ensure your device’s software is up-to-date, as updates often resolve bugs causing language switching issues.
For persistent problems, don’t hesitate to use Nintendo’s support services or seek advice from online gaming communities.
Additional Tips for Non-Japanese Speakers
To enhance your 3DS experience further, consider these additional strategies:
- Follow Visual Cues: Learn to navigate using icons instead of relying solely on text, particularly when you plan to make additional changes while the language is set to Japanese.
- Leverage Translation Apps: Utilize smartphone applications or online translators for understanding Japanese text. Some apps can translate live text directly off your 3DS screen with your phone’s camera.
- Engage with Gaming Communities: Discuss your experiences and seek guidance on forums or from fellow gamers who have undergone similar experiences.
These tips empower you to navigate your 3DS more efficiently, enhancing your gaming pleasure.
Conclusion
Switching your Nintendo 3DS language from Japanese to English customizes your gaming experience to fit your needs. This guide enables you to perform this transition effortlessly, breaking down language barriers and extending your enjoyment of games and features.
Frequently Asked Questions
Can all games switch to English after changing the system language?
Not all games support English. The system menus will be in English, but some games may not offer it as an option.
How often can I change language settings on my 3DS?
There is no limit to changing the language; you can adjust the settings whenever needed.
Will changing the language affect my saved games or data?
No, changing the language does not impact your saved games or data. Your progress remains intact.